Integrations

Important Notice:

Before committing to any integration on your account in the WMS, please make sure that all your products (SKUs) all have a unique SKU reference number and are also unified across all platform if you have multiple.

Our system and most shopping platforms heavily relies on the SKU references being present on all active products This is to avoid any potential issues that may arise during integration and/or importing your order to the WMS.

Below are some of the most popular integration guides. All sales channel integrations will support importing orders, exporting order tracking, importing products & syncing inventory.

Pimento Logo

Keep stock levels up to date on your sales channels

Inventory Sync is a feature available for most integrations, allowing you to sync your stock levels on Pimento to your store.

​Configuration

There are three levels of inventory sync generally available:

  1. Daily: Stock levels will sync daily overnight, this is perfect for brands who operate a single sales channel or are rarely go out of stock. This is available on most channels.
  2. Live: Stock levels will sync immediately when they change on Pimento. This is only available for a few channel integrations (notably Shopify). Whilst this can provide the most timely inventory sync, high-volume sellers can run into issue with Rate Limits (where the store only allows a certain number of updates per hour or day). When this setting is enabled, a daily sync is also performed as per above.
  3. Disabled: Stock levels will not be synced to this sales channel.


Bundles

Inventory Sync will also ensure bundle inventory is synced to your sales channel. For example, if you have 12 units of a TShirt SKU (TS-001) and also sell it on your store as a three pack (TS-001-X3), Pimento will know to sync 12 units to your store for TS-001 and 4 units for TS-001-X3.

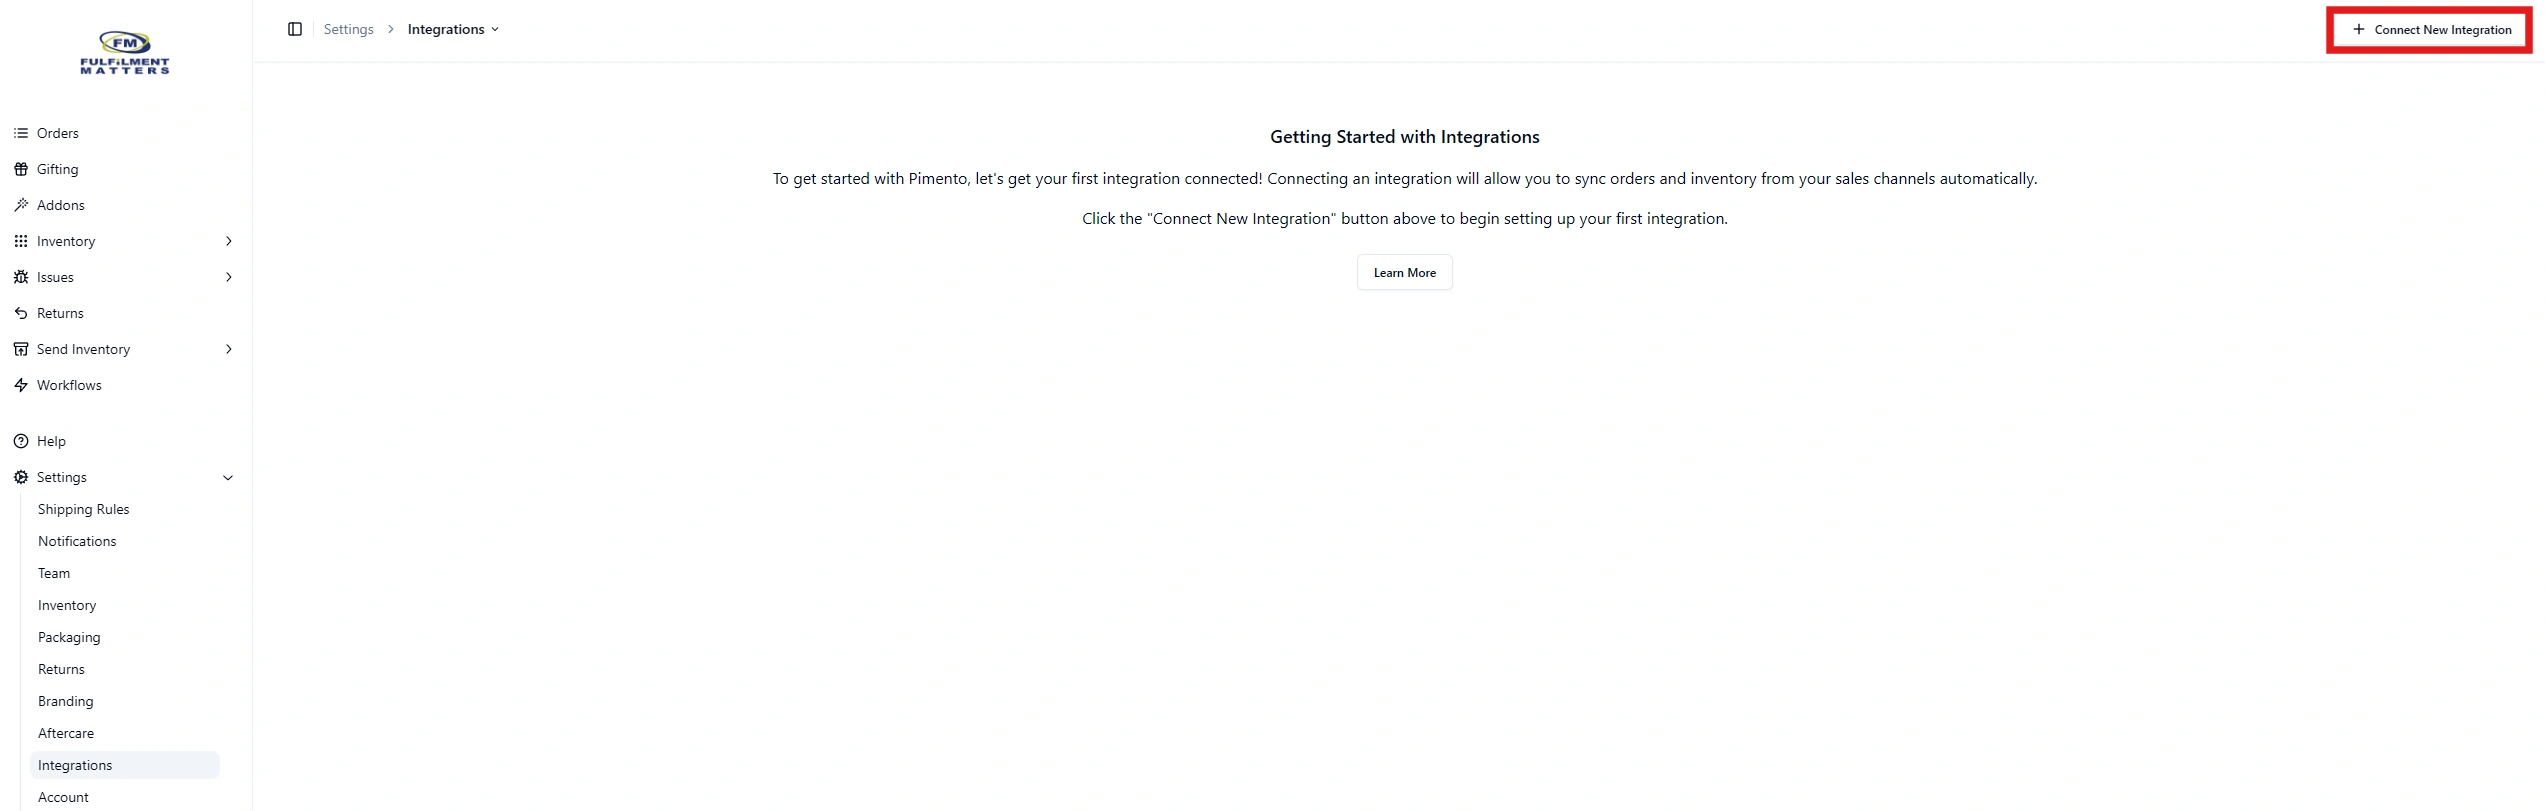
How to manage inventory sync

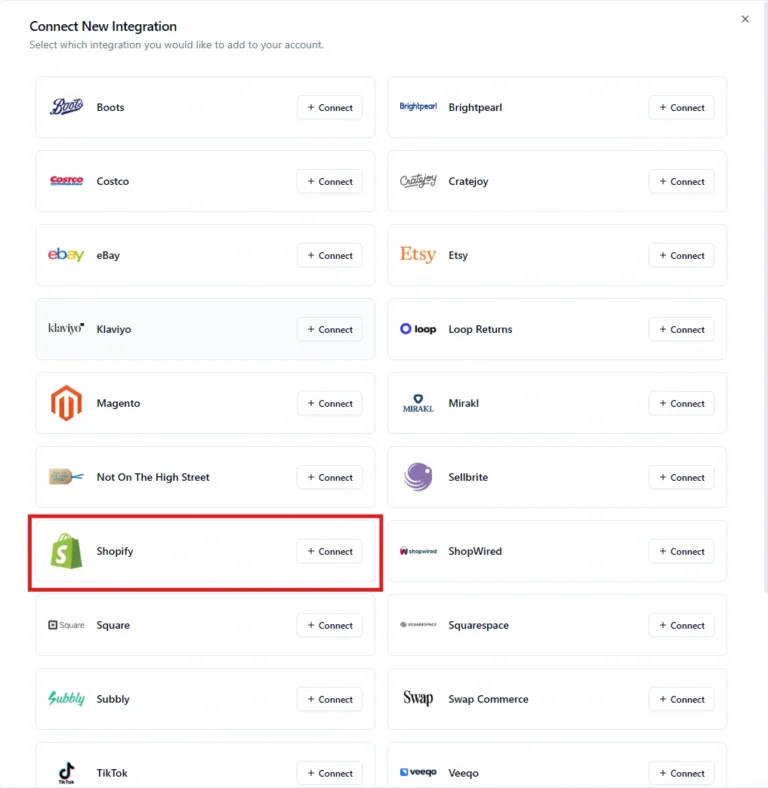
On the Pimento dashboard, navigate to Settings > Integrations, and scroll down to the integration you would like to manage.

Within the card for this integration will be a toggle, which lets you switch between the different configurations. There is also a Perform Sync Now button on some sales chanels, which allows an immediate sync to take place in the background – this can take up to 15 minutes to complete.

We will fulfil your orders as if they were our own orders

Shopify-Logo

Important:

Please make sure our location is setup correctly along with your Shipping Profiles and Shipping Zones within Settings -> Shipping and delivery.
You can find helpful information regarding this via Shopify Help, contacting Shopify directly to help with this or contact our IT directly and we will try to help as much as possible.


Useful Links

Help with Setting up Shipping & Delivery. Very useful if you want to restrict certain products to certain countries and also useful to restrict selling to certain countries – https://help.shopify.com/en/manual/fulfillment/setup/shipping-rates/shipping-zones

Shopify can also help with splitting orders. Vary useful for things like pre-orders and products on different shipping profiles – https://help.shopify.com/en/manual/checkout-settings/split-shipping

Instructions

1. Navigate to Integrations. This can be found by going to Settings > Integrations on the WMS dashboard. (https://app.getpimento.com)

Shopify Integration-1

2. Next go to +Connect New Integration in the top right corner. A pop up will appear showing all integrations.

Shopify Integration-2

       2.1 Click on Connect for Shopify where you will be redirected.

Shopify Integration-3

3. From there you will be shown a pop-up asking to install from the Shopify App store, simply hit ‘Install from Shopify App Store’ and you will be redirected.

If you see a slightly different screen, please refer to 3.1 below

Shopify Integration-4

3.1. If you see a slightly different screen, you will be asked to enter your slug. This can be found when you go to admin.shopify.com within the domain bar, e.g from https://admin.shopify.com/store/adam-testing-store you would need to enter adam-testing-store

Shopify Integration-5

4. You will now be shown the Shopify App Store, click Install. (you will need to ensure you are logged into the correct Shopify store you wish to link)

5. When re-directed to Shopify you will be prompted to accept the Pimento App Shopify permissions, these are required to download and send fulfilment updates.

Last Step is IMPORTANT

6. Once accepted you will be redirected back to the WMS with your settings page now available, you will NEED to set a fulfilment location (our location or the default location depending how you have setup Shopify) so that orders can import and export. Also, you can enable Inventory sync if required. See Inventory Sync for more infomation

Integration: COMPLETE

To connect your WooCommerce account to Pimento, follow the below steps:

Instructions

1. Within the your WordPress instance, navigate to the WooCommerce tab of the sidebar and click on Settings.

WooCommerce-1

2. From the setting menu click on Advanced and then on the sub menu click on REST API Keys. Next, click on Add Key.

3. From here you need to supply a Description (can be anything), Select a User (please select an admin user) and then please select Read/Write under Permissions followed by clicking on Generate API Key.

WooCommerce-3

4. On this Screen, you will be presented with you Consumer key and Consumer secret. Please copy these somewhere as we will need these later on.

WooCommerce-4

5. In the WMS, navigate to Settings > Integrations from the dashboard. (https://app.getpimento.com)

Shopify Integration-1

6. Next go to +Connect New Integration in the top right corner and a pop up will appear. Click on ‘Connect’ on the button for WooCommerce.  

7. In the next screen, add your Store URL (website) along with your API Key and API Secret you copied from earlier. Click Connect.


Integration: COMPLETE

Important Notice: 

Before starting the integration, please make sure that your TikTok store is correctly setup. 

Please note that the shipping profile needs to be altered on the TikTok shop to ‘Shipped by Seller’ by creating a new template and also please edit each product to use the new shipping profile template. This will solve the issue of the addresses being starred out on TikTok and also on the WMS.

  • Within TikTok shop on a web browser go to Logistics and then Shipping.
  • Click on +Add Template, select ‘Shipped by Seller’ and then click Continue
  • Give the template a name and then fill out any other details if required like the flat rates etc and then click Submit.

After the above;

  • Head over to the products and click edit on a product.
  • Scroll down to the Shipping part and turn on the radio button for Custom Shipping Template and then select the new template you created above
  • Repeat first 2 steps for all products

To connect your TikTok account to Pimento, follow the below steps:

1. Navigate to Settings > Integrations within the WMS dashboard (https://app.getpimento.com) and press +Connect New Integration and then click on the Connect on the TikTok integration.

tiktok-1

2. You will be redirected to TikTok where you need to confirm your region and then login to your account.

3. You will be asked to confirm Pimento can connect to your TikTok account

4. You will be redirected back to the WMS dashboard and your TikTok store is now connected!

Integration: COMPLETE

To connect your eBay account to Pimento, follow the below steps:

1. Navigate to Settings > Integrations within the WMS dashboard (https://app.getpimento.com) and press +Connect New Integration and then click on the Connect on the eBay integration.

ebay-1

2. You will be redirected to eBay where you need to login to your account

ebay-2

3. Click Agree and Continue when prompted to allow our WMS access.

ebay-3

4. You will be redirected back to the Pimento dashboard and your eBay store is now connected!

Integration: COMPLETE

Veeqo Logo

Important Notice:

We currently don’t have a direct integration to Amazon, however there is a 3rd party solution which can be used called Veeqo.

You will need a Professional Seller Plan on Amazon Seller Central to use an Amazon store on Veeqo.

Veeqo is a platform which enables brands to list and sell their products on online marketplaces. It is commonly used to connect Amazon stores to our WMS.

To connect your Veeqo account to our WMS, follow the below steps:

1. (If you already have an Veeqo account please skip this step and goto step 2). If you currently don’t have a Veeqo account – head over to https://app.veeqo.com/signup and follow the steps to create an account. 

2. Once logged into your Veeqo account, please make sure that your Amazon account or other Marketplaces are connected to your Veeqo account by going to Settings -> Channels and then click on +Connect a channel. If they are not, please connect your market places. 

IMPORTANT: Due to the way the Amazon-Veeqo integration works, please ensure that your listings were created in the correct fulfilment status (i.e. FBA or FBM). Listings that were created in one status and then converted to the other may pull in with the original status. To fix this, please recreate the listing with the desired fulfilment status.

3. Once your Veeqo account is all connected to your marketplaces head back to your WMS account. Navigate to Settings > Integrations within the WMS dashboard (https://app.getpimento.com) and press +Connect New Integration and then select the Veeqo integration.

4. You will be redirected to Veeqo. Sign in with your Amazon account or the login details used when you created your Veeqo account.

5. Once credentials have been entered, you will be required to authorize Pimento access. Please click on Allow and then you will be redirected back to your WMS account successfully adding the integration. 

6. Within the integration settings please make sure that the Inventory Sync Warehouse Amazon location is selected to make sure all amazon orders come through. Also select all other desired settings if required like Inventory sync and order import allocation.

Veeqo 33

Integration: COMPLETE

Fulfilling Expectations

Whether your requirements are relatively modest, or you have thousands of items per day, rest assured that we can help.

To connect your Etsy account to Pimento, follow the below steps:

1. Navigate to Settings > Integrations within the WMS dashboard (https://app.getpimento.com) and press +Connect New Integration and then click on the Connect on the Etsy integration.

etsy-1

2. You will be redirected to Etsy where you need to login to your account.

etsy-2

3. Click Grant access when prompted to allow our WMS access.

etsy-3

Integration: COMPLETE

To connect your Magento 2 store to Pimento, follow the below steps:

1. Within your Magento store, go to the navigation bar on the left hand side and press System

2. Within the popup, select Integrations (within the Extensions category)

3. Add the integration name as Fulfilment Matters, and enter your user password within the Current User Identity Verification section.

magento-1

4. On the sidebar is two subtabs, Integration Info and API. Click on API.

5. Select All within Resource Access, to give our WMS all the necessary permissions.

6. Save the integration and then activate it.

7. In the WMS, Navigate to Settings > Integrations within the WMS dashboard (https://app.getpimento.com) and press +Connect New Integration and then click on the Connect on the Magento integration.

magento-3

        7.1. Enter the Store URL (e.g. www.mystore.com), along with the API keys which will be visible in the Magento dashboard under Integration Details

8. Press Connect and your Magento 2 store will be connected to the WMS.

Integration: COMPLETE